Cyberdeck Part 2
In Cyberdeck Part 1, I began printing off rails with hexagon holes that accept a hexagon brass nut. In this iteration, I’ve printed off more rails,
these are a bit shorter to accomodate the curved corners of the Apache case. I also designed and printed some brackets to mount the touchscreen to the rails.
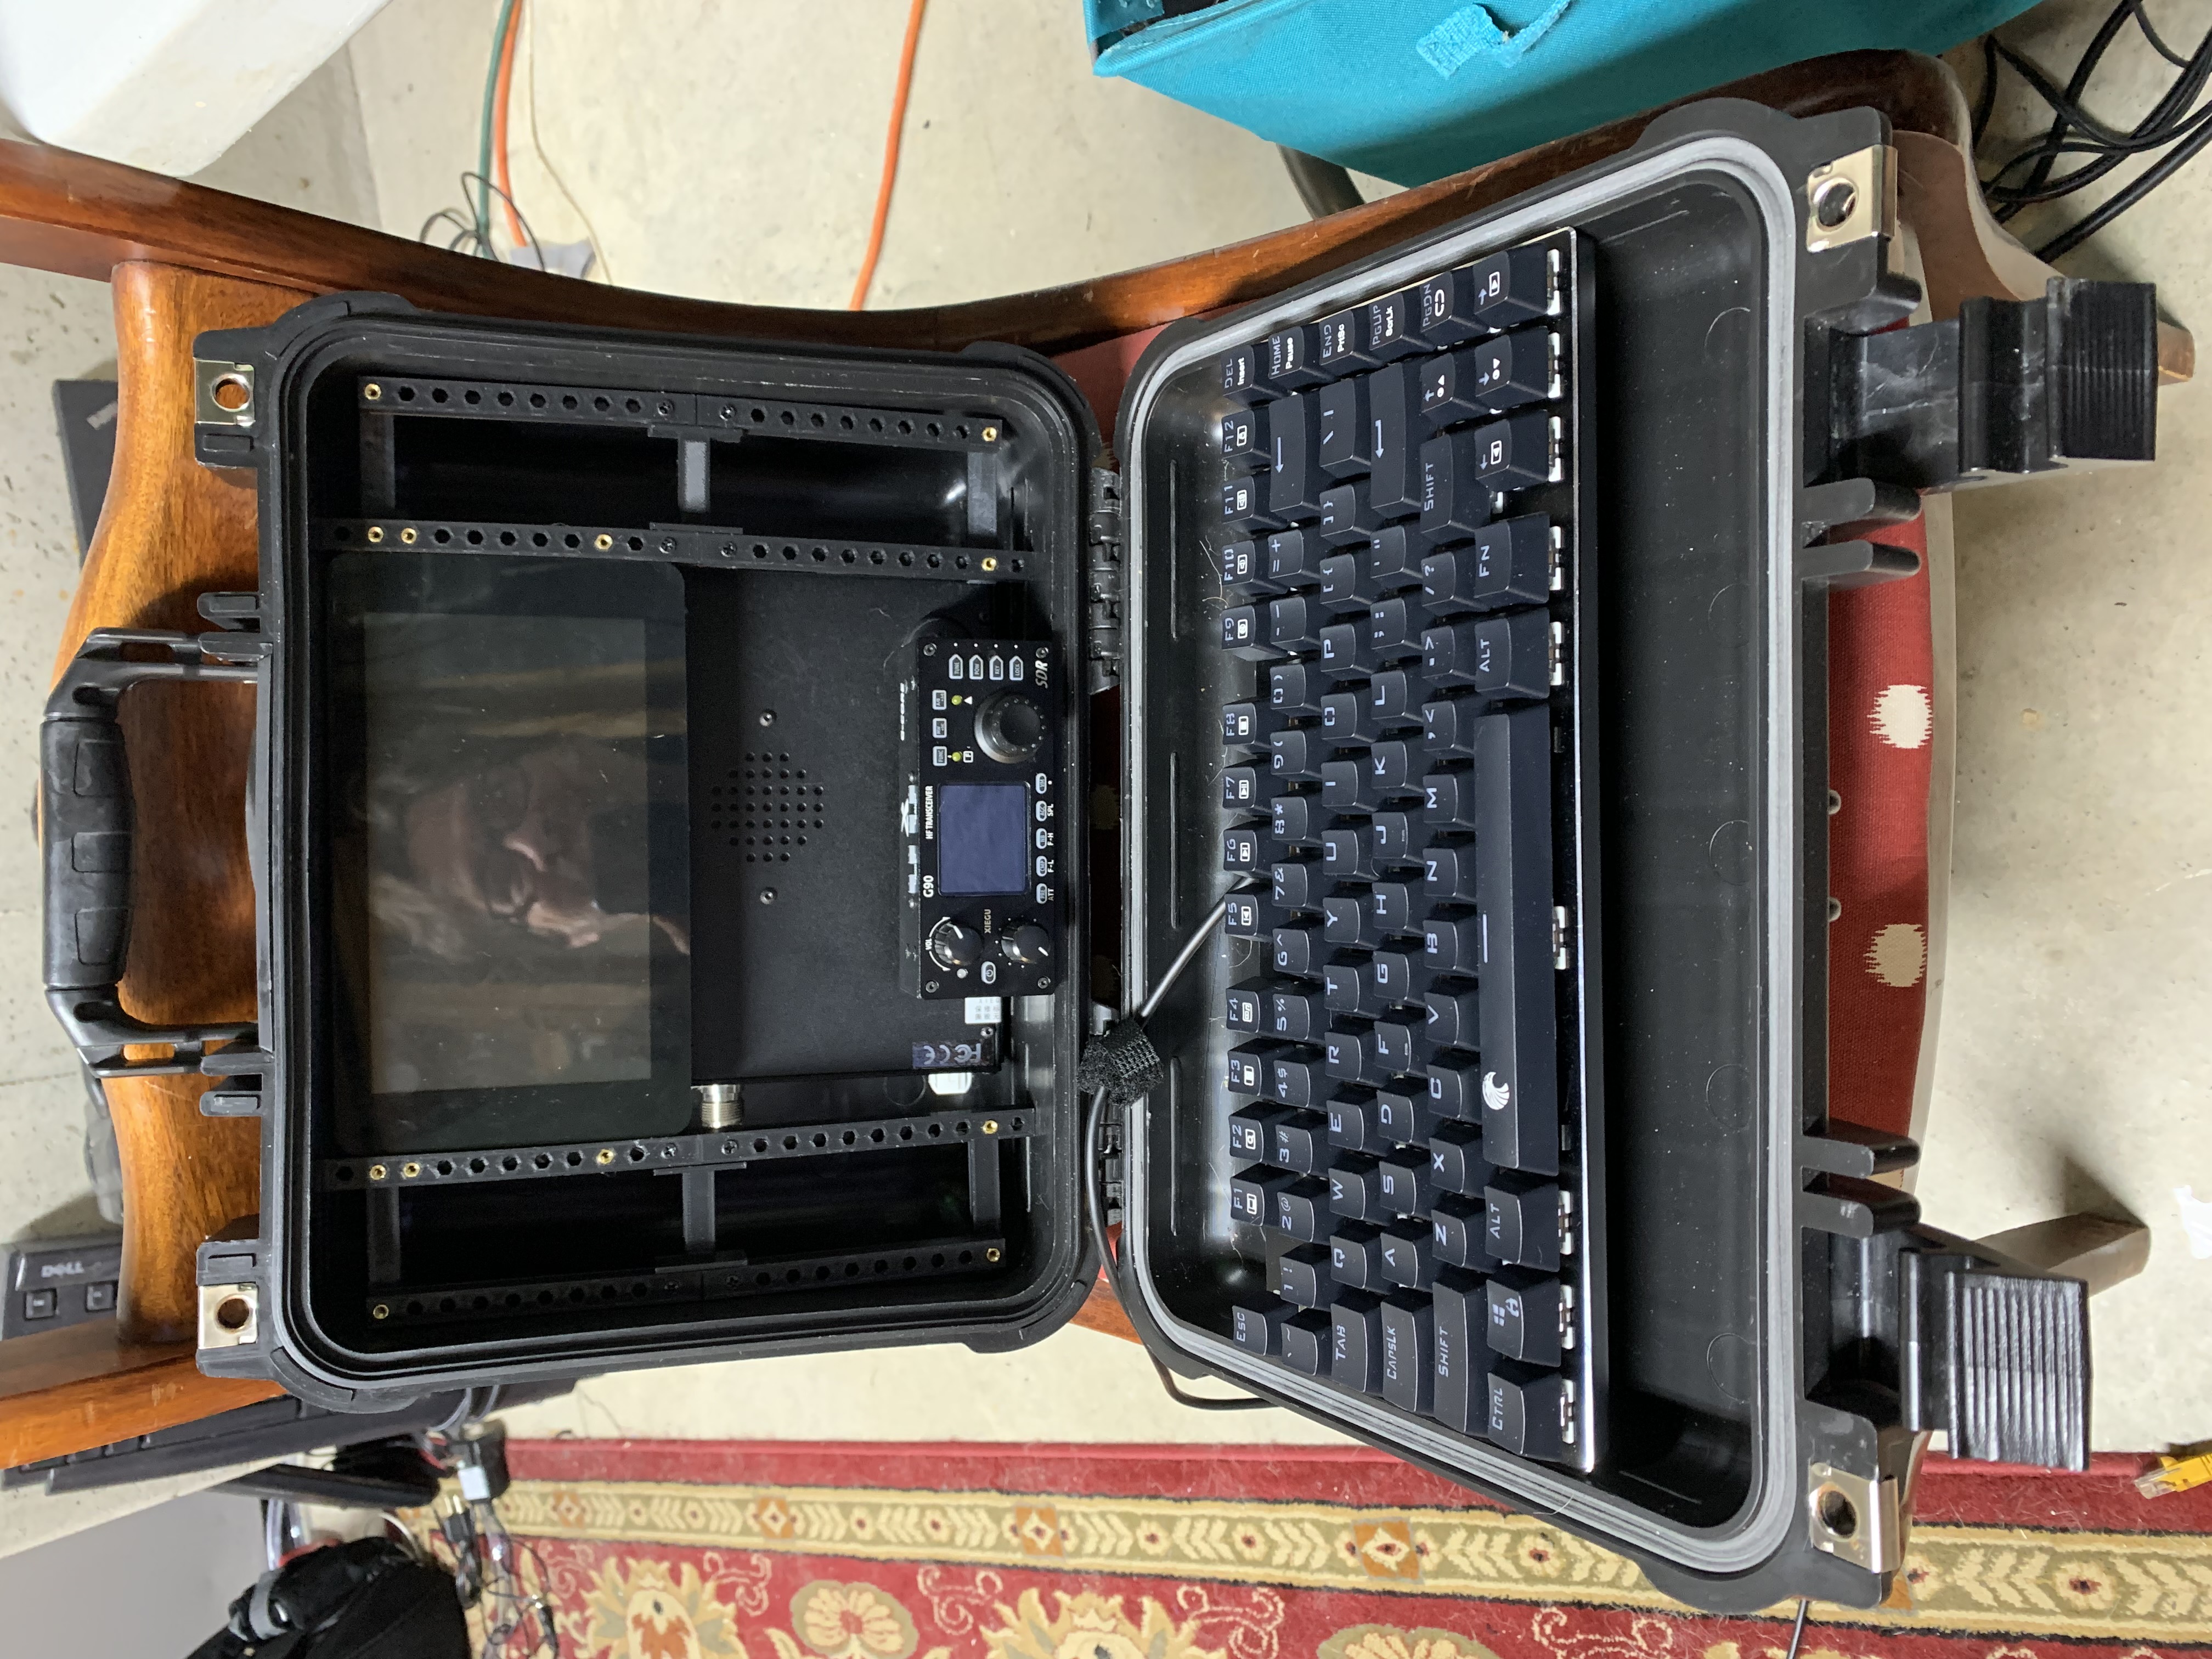 I removed the control head from the G90 body and played around with locating the head and chassis. In the photo they are just sitting in the case and not mounted yet.
I discovered that there’s not much clearance between the keyboard and the panel when the case is closed up.
So I’ve decided to locate the G90 control head all the way to the bottom so the knobs can protrude into the space above the keyboard in the case lid.
I removed the control head from the G90 body and played around with locating the head and chassis. In the photo they are just sitting in the case and not mounted yet.
I discovered that there’s not much clearance between the keyboard and the panel when the case is closed up.
So I’ve decided to locate the G90 control head all the way to the bottom so the knobs can protrude into the space above the keyboard in the case lid.
I noticed that in other builds, some designers were using friction to hold the panels in place in the case. With this iteration,
I printed cross members for the rails, which can be seen in the photo.
This provided some stability and helped me see how the frame can slide into the case and be held pretty well with friction alone.
An issue I forgot to mention in Part 1, my Creality Ender 3 printer is unable to print a piece long enough to span the entire height of the Apache case. To solve this, I’m printing two rails, each half the distance from the top to bottom of the case. I’m joining them with a bracket I’ve 3d printed and fastened them with M3 screws. Here in Part 2, I’ve incorporated these “joiner brackets” into cross members.
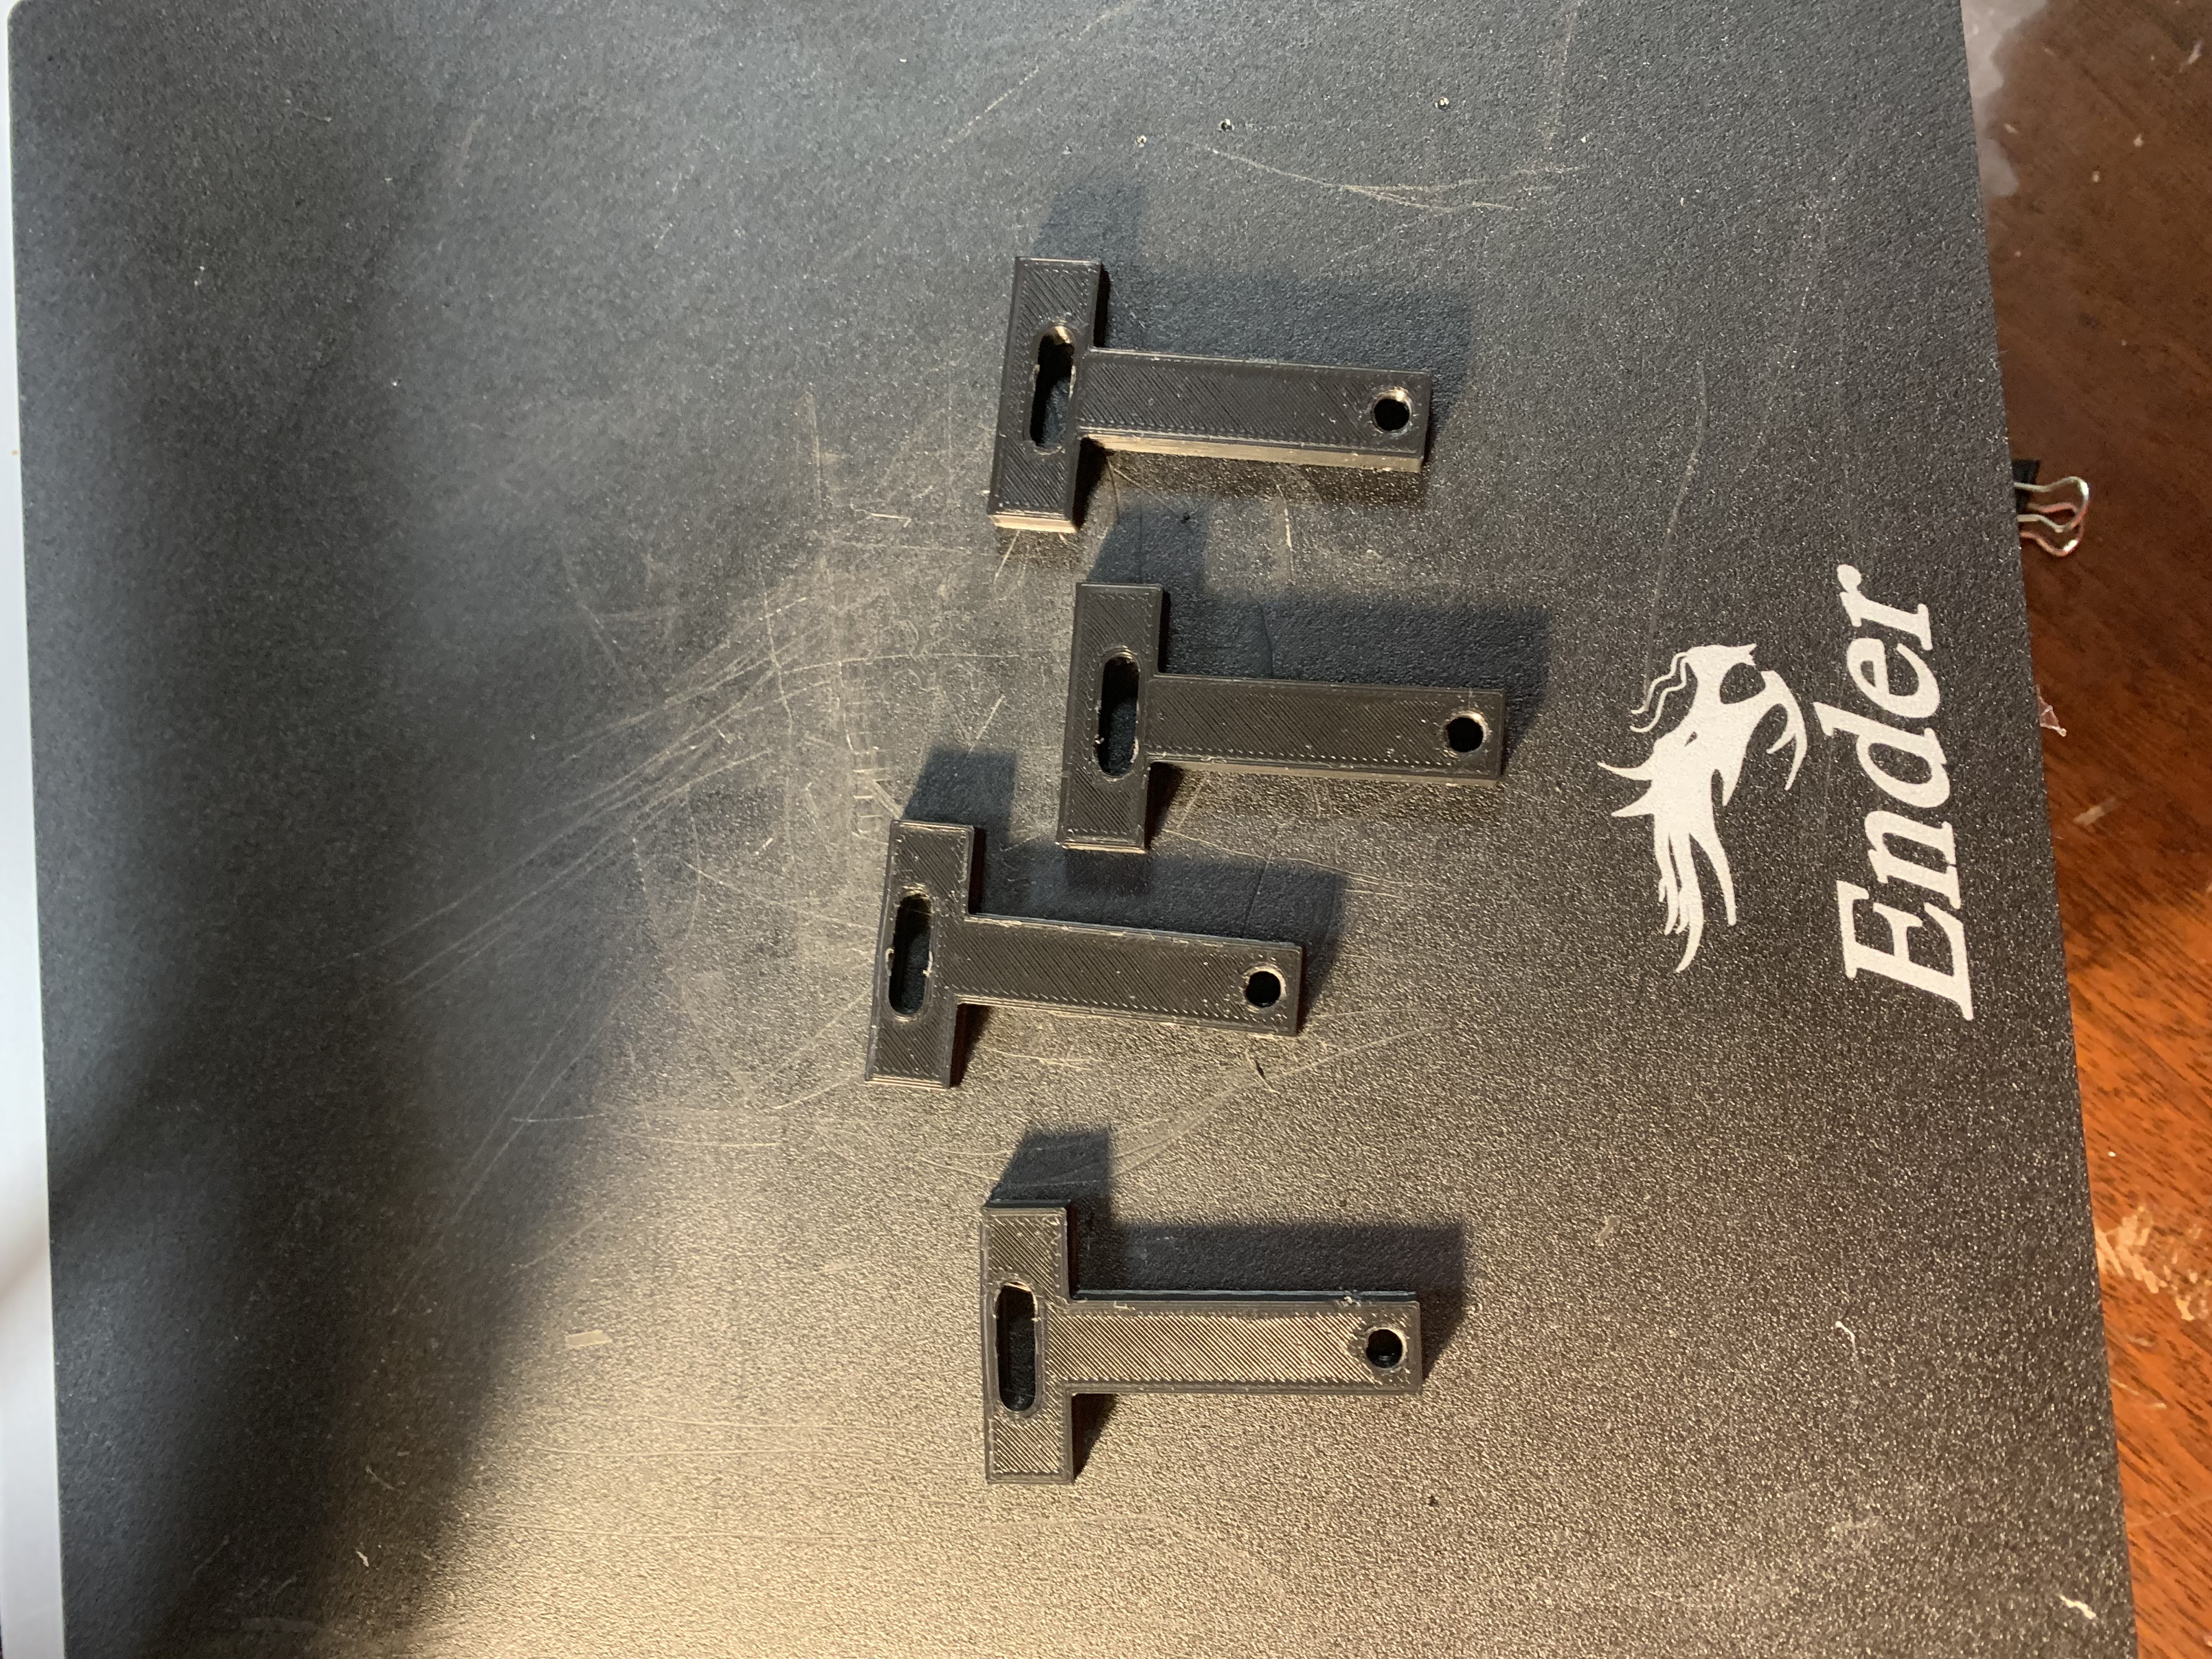
Above is the first iteration of screen brackets that I designed. I got lazy and made the screw holes slots so I wouldn’t have to get the hole alignment perfect. This proved to be a mistake because these brackets keep slipping. I have to keep re-tightening the screws to keep the screen in place. I’ll be redesigning these brackets in a later iteration.