Cyberdeck Part 3
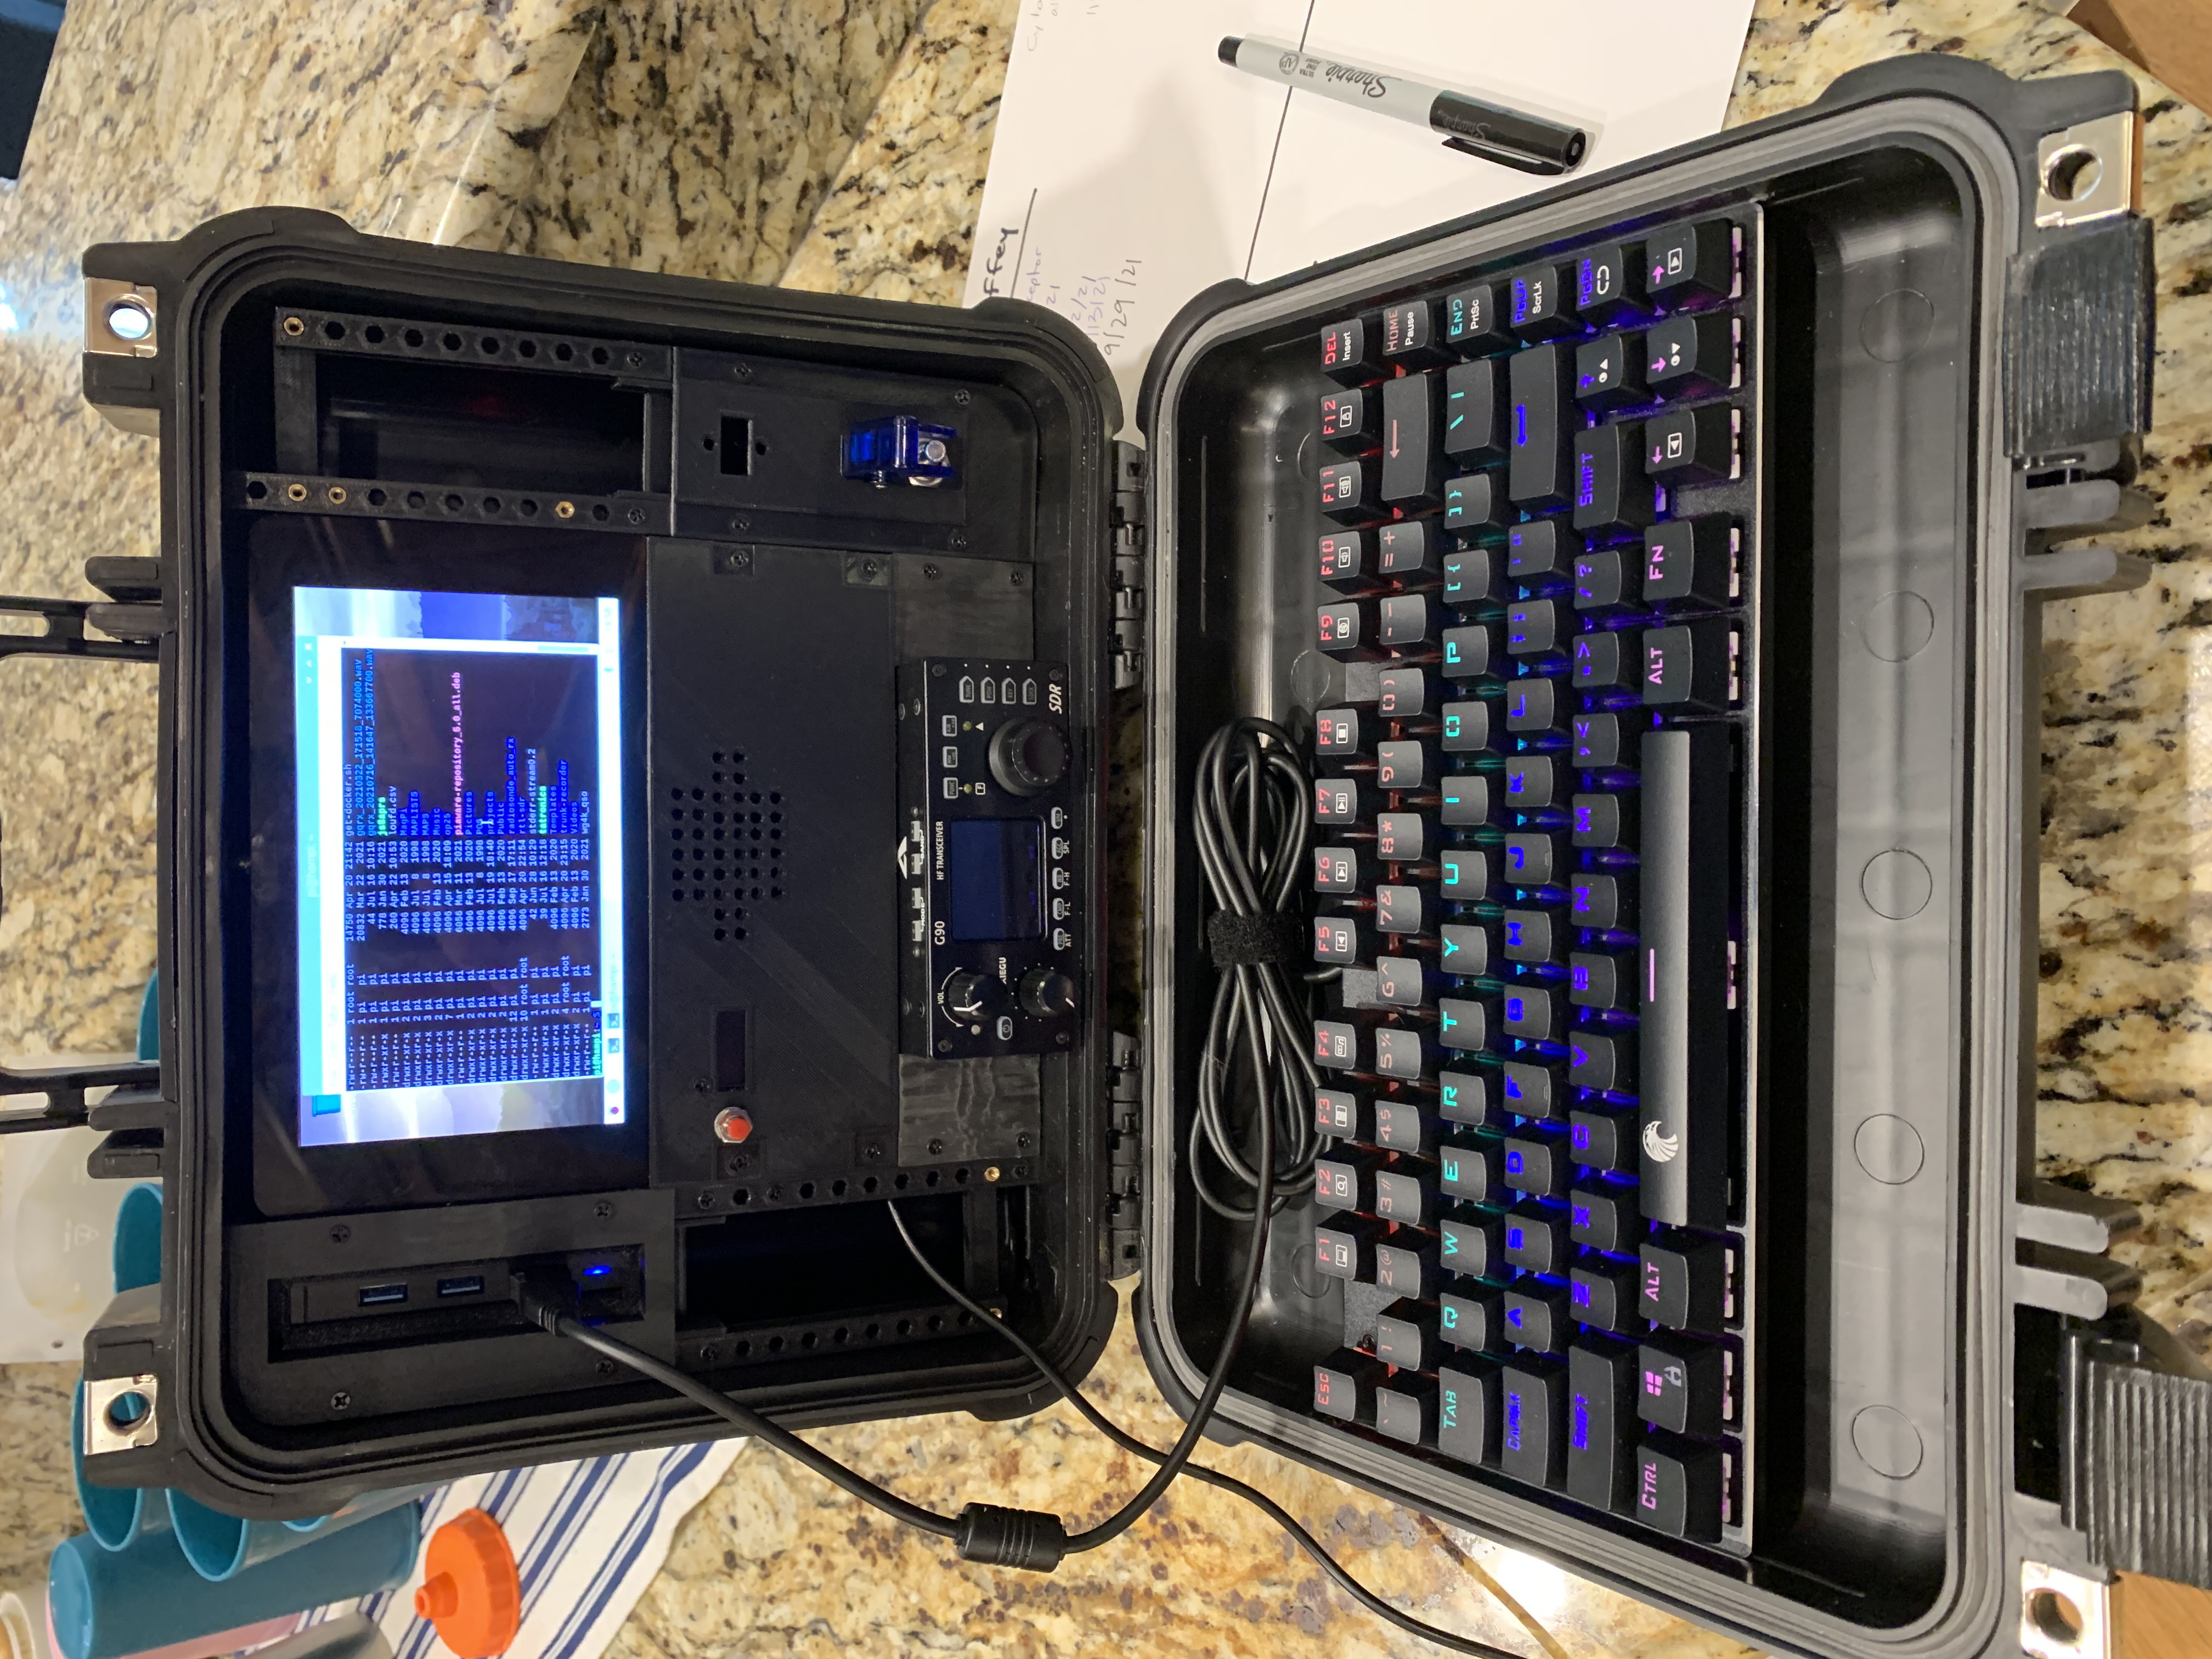
In Cyberdeck Part 2, I worked out a good design for the frame and positions for the Xiegu G90 head and main chassis. In this iteration, I’ve designed and printed some brackets for the G90 control head. I also designed and printed a few of the panels. I made one that holds a USB hub, and another for the main power
switch and the Power Pole connector for the main 12VDC supply. Next I designed and printed a center panel with speaker holes, and a place for the OLED display
and a red push button to change the OLED display.
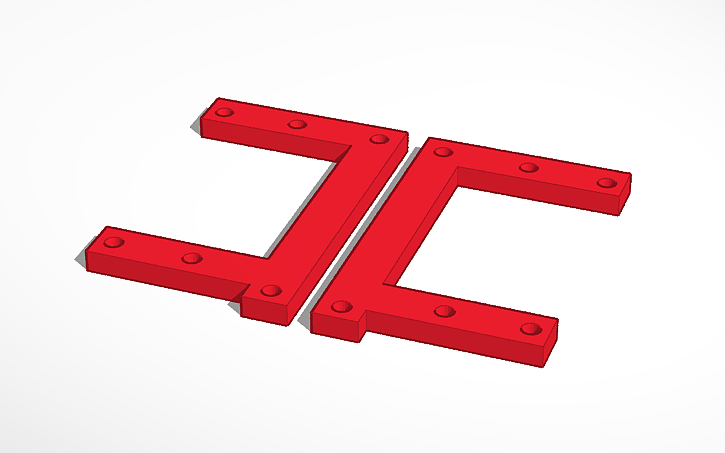
Next I set out to redesign the screen brackets. The previous revision had slots for screw holes because I got lazy and didn’t measure the hole placements carefully.
Now that I was confident on the screen position and the frame design, I was able to measure the hole placements with some accuracy. I added some additional
holes in these brackets where I can mount stuff like circuit boards. Here’s a rendering of the screen backets I created on Tinkercad. These are much more stable than
the previous ones.
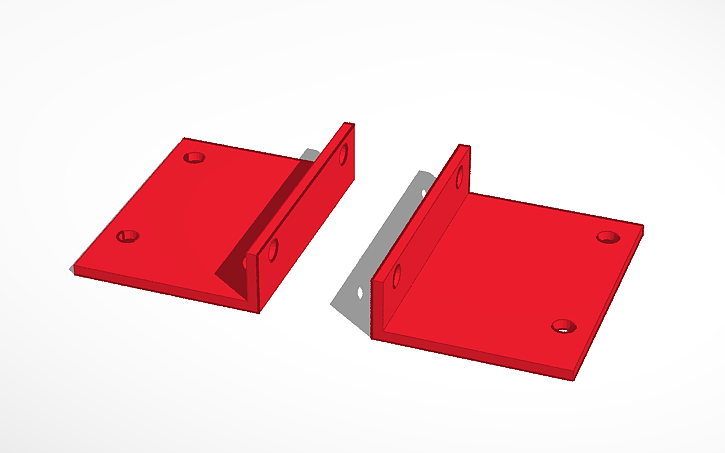
Here’s the G90 brackets.